Create a New Meeting
Unicko Virtual Classroom is an online platform that allows users to participate in meetings, webinars, live lessons, and training sessions. Users can create meeting rooms, each with a unique URL which can be used either for a one-time session or for recurring events.
Create Meeting (room)
To set up a meeting, go to the Meetings tab and click the Create Meeting button.
Name
Type in a name for your meeting room.

Owner
Select the meeting owner. The owner can host meetings, edit settings, view reports, assign co-hosts, manage registrants and recordings. The meeting capacity increases if the owner is assigned a large meeting license.

Set date
Optionally set a date and time for the meeting. Attendees are permitted to join the meeting 30 minutes before the scheduled start time. The meeting will not end when duration has passed, but new attendees will not be able to join.
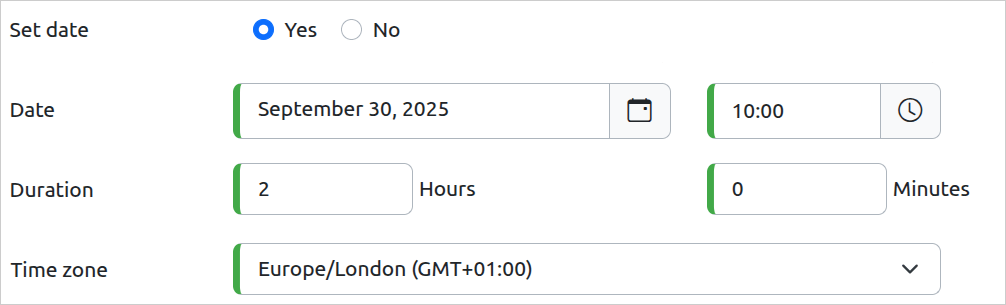
A meeting without a set date allows participants to join at any time, and the link can be reused for future sessions.
Registration approval
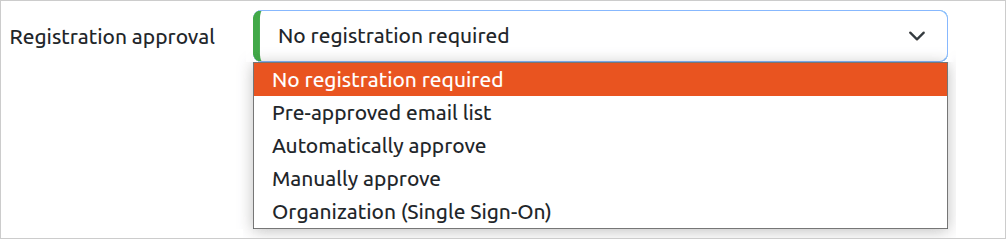
No registration required
Users will immediately join the meeting. A participant with the Meeting URL will be asked to fill their first and last names, and will be able to enter the virtual classroom.
Pre-approved email list
Users whose emails have been approved will immediately join the meeting. A participant with the Meeting URL will be asked to fill their first name, last name and email. If the email matches one of the emails in the pre-approved list, the user will be able to enter the virtual classroom.
The host can add emails under the Pre-approved tab.
Automatically approve
Users will register for the meeting and will immediately receive email with information on how to join.
The host can view registrants under the Registrants tab, and can set them as approved/denied to join the meeting.
Manually approve
Users will have to register for the meeting in advance. The host must approve registrants before they receive email with information on how to join the meeting.
The host can view registrants under Registrants tab, and can set them as approved/denied to join the meeting.
Organization (Single Sign-On)
Users will be redirected to your OpenID Connect Identity Provider.
Language
Choose the language for the meeting interface.

Attendees can view participant list
Set to No if you wish to hide the participant list from attendees during the meeting.

Start Recording

Manual
The host can start, pause and stop a recording at any time during a session.
Auto
The meeting or webinar will automatically start recording when the host joins a session.
Disabled
The meeting will not be recorded.
Recording reminder

No
The host will not receive a reminder about recording when joining the meeting.
Yes
The host will receive a recording reminder pop-up when joining the meeting.
Show chat and Q&A in recordings

No
Chat and Q&A will not appear in recordings.
Yes
Chat and Q&A will appear in recordings.
Microphone permission

No
Participants will not be able to turn the microphone on when the host joins the meeting. The host can change this setting during a session.
Yes
Participants will be able to turn the microphone on when the host joins the meeting. The host can change this setting during a session.
Camera permission

Manual
Participants will not be able to turn the camera on unless the host manually grants permission.
Auto
Participants will be able to turn the camera on when the host joins the meeting.
Limited
Only host and locked cameras are visible to attendees.
Attendees can replace camera background
Host can allow attendees to display images as their camera background during a meeting, which may provide a professional look.

No
Attendees cannot replace the camera background.
Use provided images
Allow attendees to replace the camera background with provided images.
Use custom and provided images
Allow attendees to replace the camera background with custom and provided images.
Save
Click Save.

To join the meeting as a host, click on Enter Meeting.

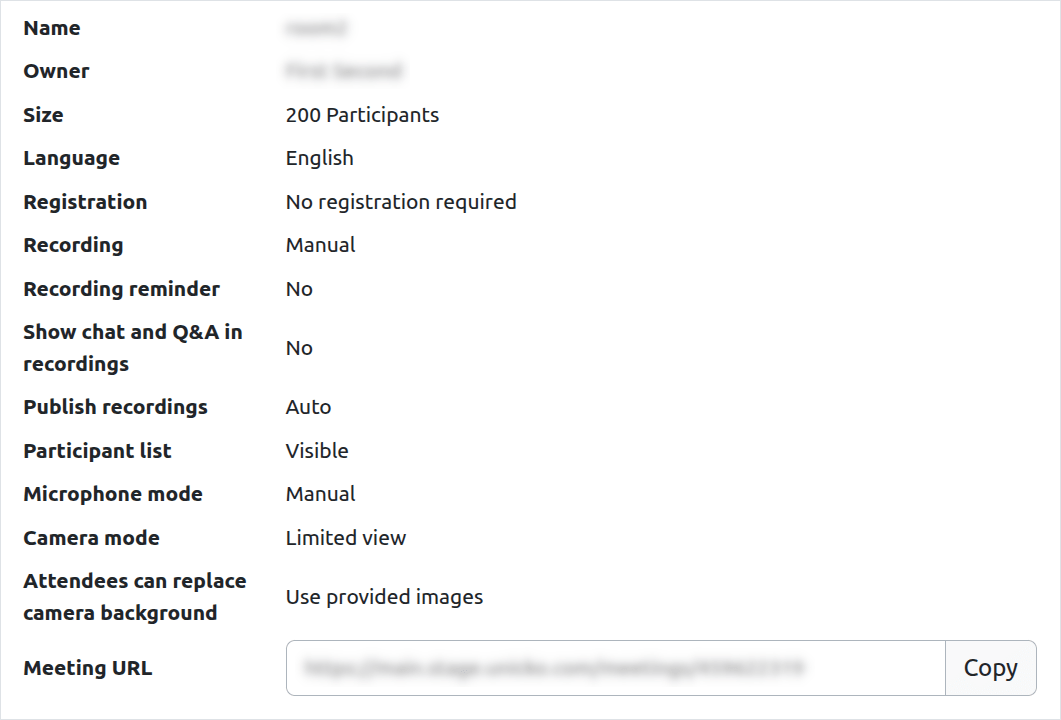
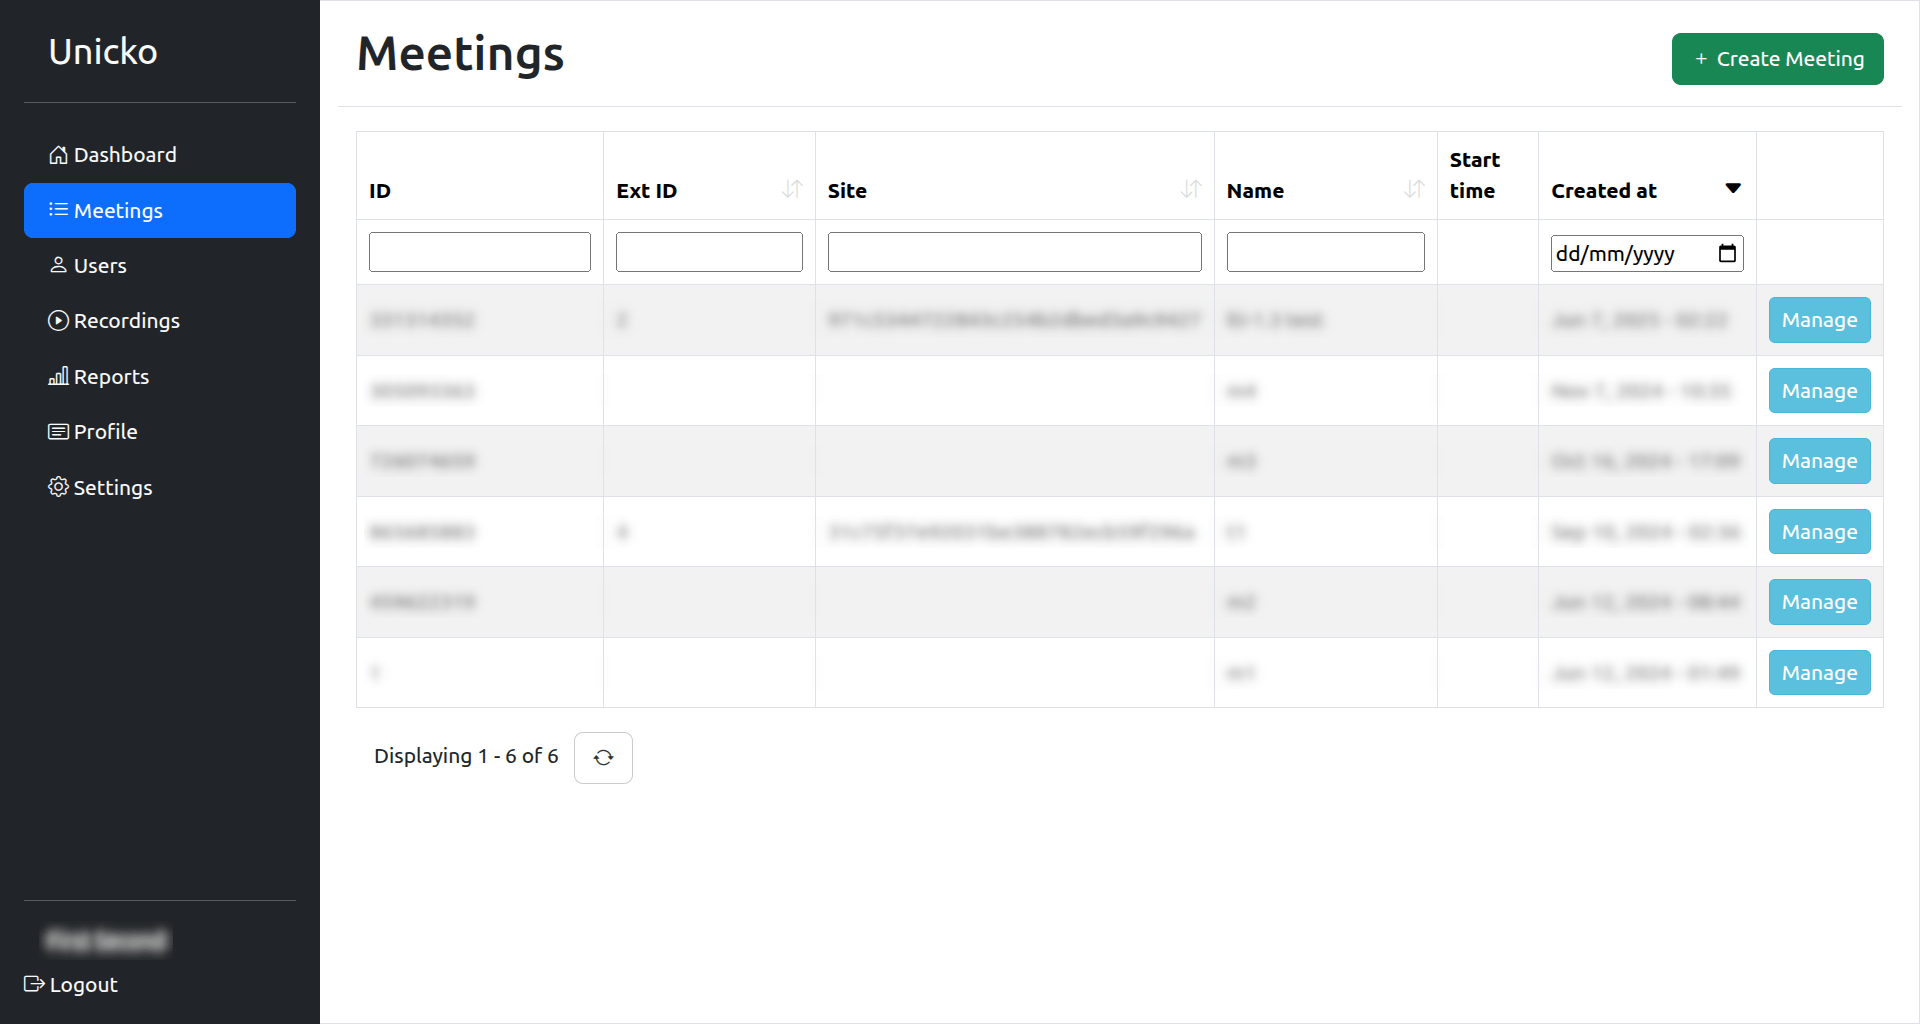
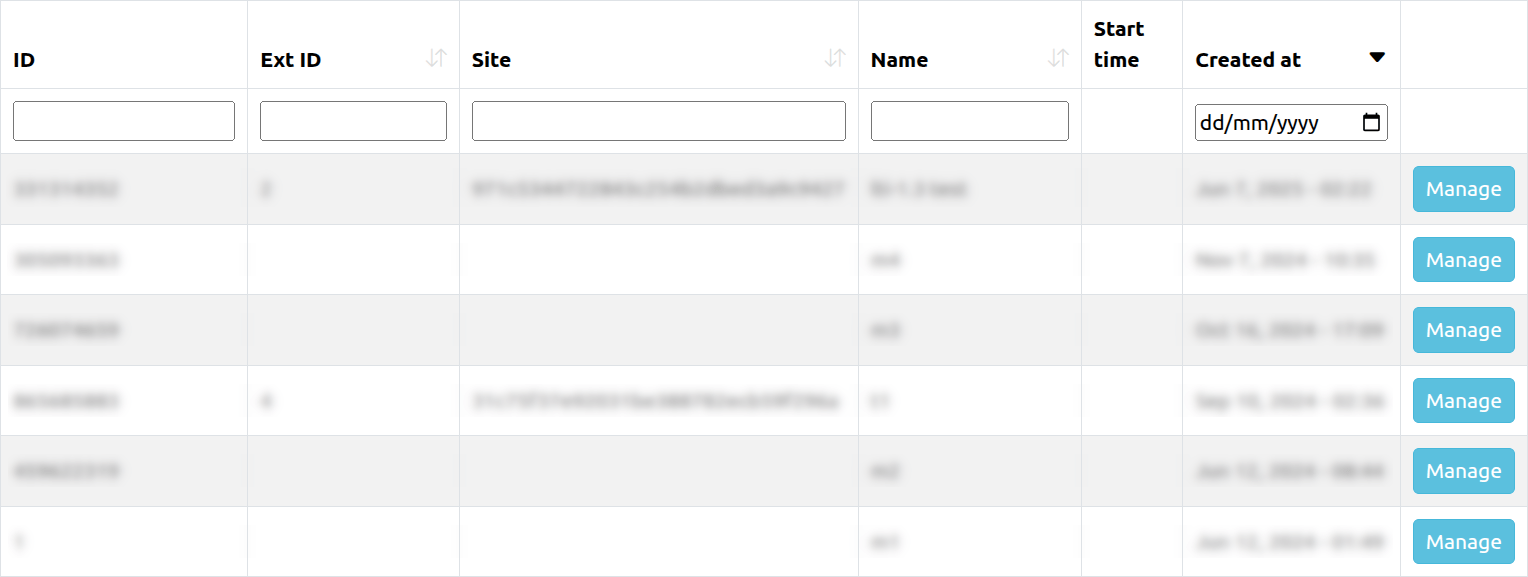
Meetings
The Meetings tab displays a list of your meeting rooms. Use the search boxes to find a specific meeting. To manage a meeting, click the Manage button.
After clicking Manage, an overview of the meeting details and settings will be displayed. To invite participants, copy the Meeting Link and share it via email or any messaging platform.