Getting Started for Hosts
Unicko Virtual Classroom is an online learning platform that enables participants to communicate through audio and video conferencing, share content in real time, and collaborate using tools like whiteboard, quizzes, polls, and breakout rooms in a live, interactive environment.
Documents, Media
& Quizzes
Participants
The participant panel shows the number of participants in a session and provides details about each one, including their role, permissions, hand raise status, and poll response. By selecting a participant, the host can manage their role and permissions.

Settings
& Camera
Role
- Host - The host manages the meeting and controls participant roles and permissions. Hosts are identified by a yellow star next to their name.
- Presenter - The presenter has microphone and camera permissions and has access to the features which allow them to share content. The host can assign one presenter marked with a blue star next to their name.
- Attendee - Attendees can view shared content and videos, raise their hand, participate in polls, and send messages in the chat. They can also share their audio and video if granted permission by the host.
Microphone and Camera
- Green color - The participant has permission and their device is turned on.
- Orange color - The participant has permission but has not turned on their device.
- Gray color - The participant does not have permission and therefore cannot turn on their device.
Note: Blue line indicates that the participant has a presonal permission.
Raised Hand and Poll Response
- A participant’s raised hand and poll response are shown next to their name.
Attendee Settings
Clicking the gray arrow next to a participant's name opens their settings menu:
- Permissions - To grant a participant microphone and camera access, toggle the buttons beneath their name.
- Make Presenter - Click to assign presenter role to the participant, replacing the current presenter.
- Mute - Click to mute the participant's microphone.
- Force Logout - Click to remove the participant from the session.
Chat
The chat enables participants to send messages to everyone.
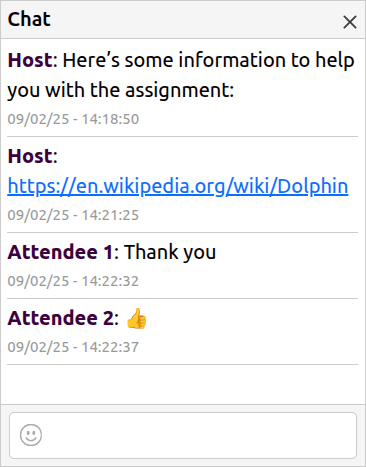
- All the messages will appear in the chat box.
- To send a message, type in the text box and then press enter. To add emojis, click the emoji icon in the text box.
- To close the chat box click the x button. You can reopen the chat using the toolbar.
Toolbar
The toolbar enables you to open and close side panels, manage the raise hand menu, turn on and off your microphone and camera and access the more options menu.

- Open and close the Participant roster.
- Open and close the Chat.
- View the Raise Hand menu to see which participants have raised their hands and the order in which they did so.
- Turn on and off Microphone and Camera. The icon is orange when the device is off and green when the device is on.
- Open and close the Controls panel.
More Options Menu
The More Options menu provides access to additional features and settings.
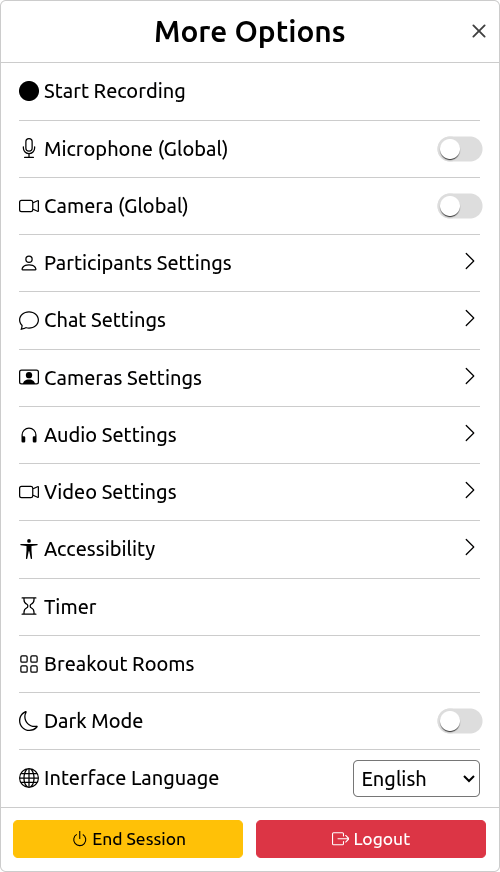
- Start and stop Recording.
- Global microphone and camera Permissions. Grant all participants permission to turn on their microphone and camera.
- Change Settings for panels and tools.
- Audio and Video Settings. Select your microphone and camera devices, replace your camera background and enable large gallery view.
- Click to access Accessibility settings.
- Set a Timer, which will appear in the info bar.
- Start and manage Breakout Rooms.
- Select your Interface Language.
- End Session for all participants.
- Logout. Leave the session without ending it.
Info Bar
The info bar, located at the top of the page, displays general information about the meeting.

- Speaker - The participant currently speaking.
- Active Feature - The tool or file which is currently being used.
- Recording Indication - Shown when a session is being recorded. Click the icon to stop or pause recording.
- Fullscreen - Click to toggle fullscreen mode.
- Timer - Click to access the timer settings.
Recording
Click the button in the more option menu to start recording. When a session is recorded, the audio and video conference, chat messages, and any shared files and applications are included.
Click The red dot in the info-bar to pause or stop recording:

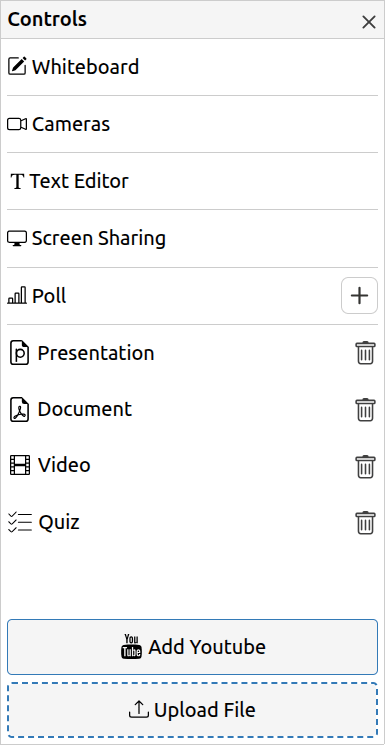
Controls
The control panel lets you switch between features, share your screen, launch polls, and upload and share presentations, documents, media, and quizzes.
Documents, Media
& Quizzes
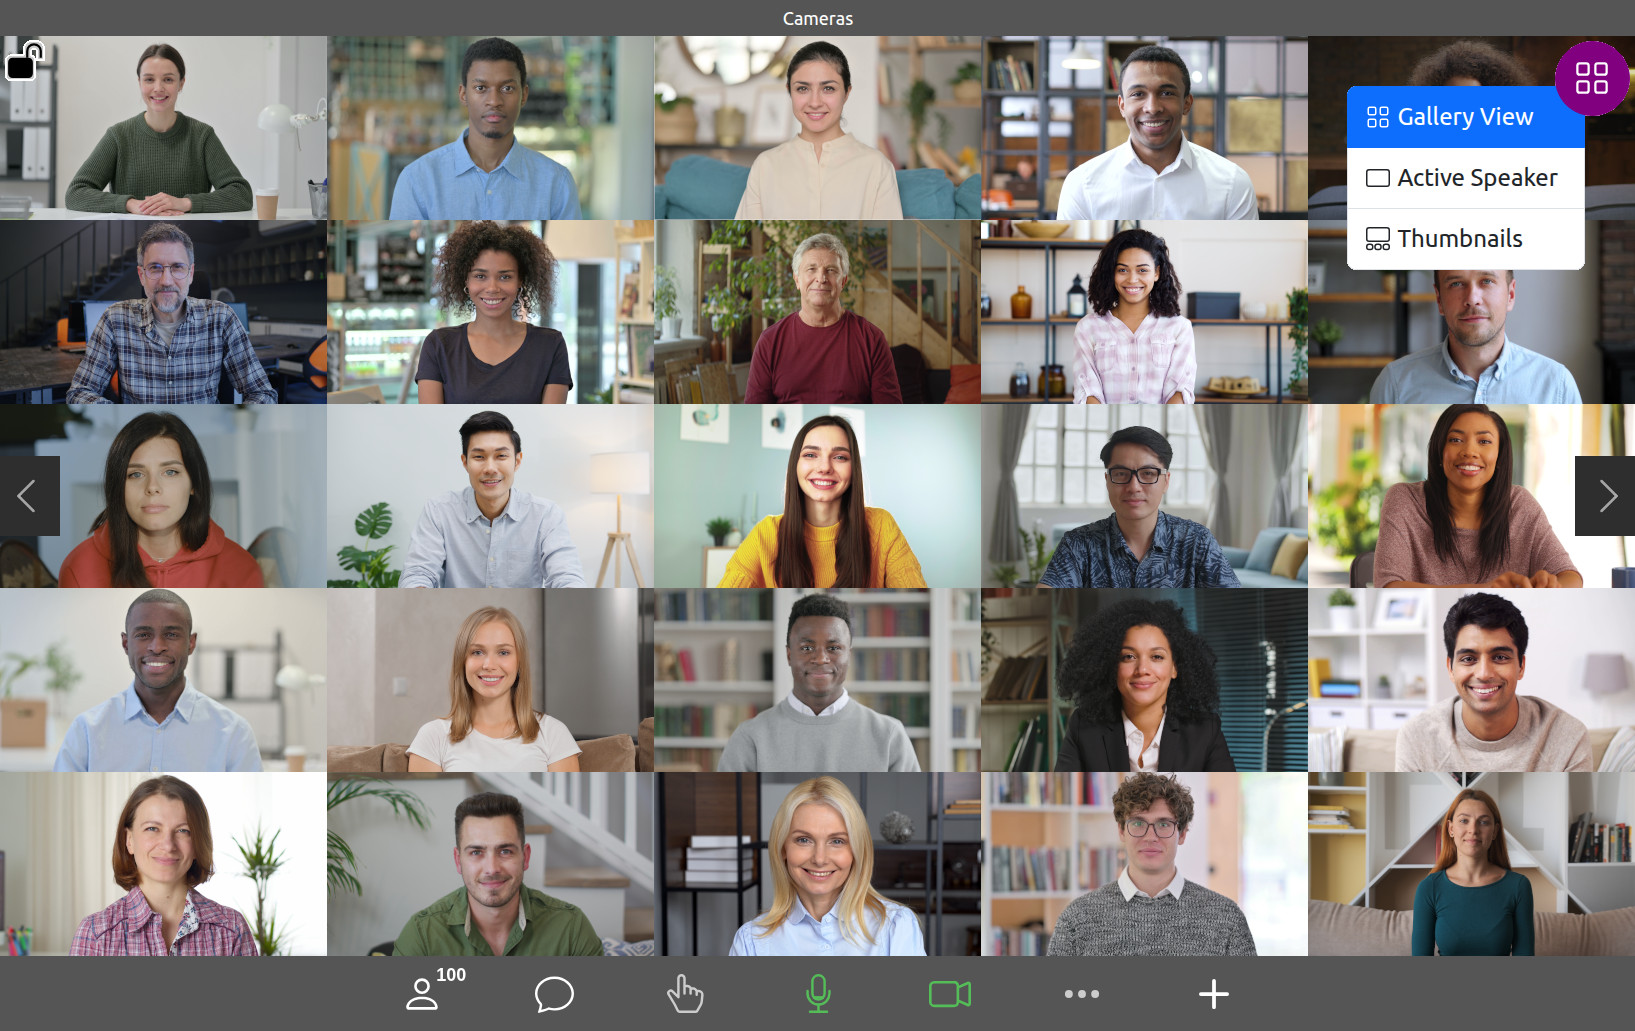
Cameras
When broadcasting, all cameras are shown in the Cameras Tab or on the Cameras Side Panel. When sharing content, the camreas are displayed in a side panel.
Click the lock icon to select which videos are always presented. Click the layout button to change the view:
- Gallery View - displays up to 16 cameras by default, or up to 25 cameras if the Large Gallery View is enabled in the settings. If more cameras are broadcasting, gallery view will show the participants who were the most recent active speakers. Use the paging buttons to view all participants. The current active speaker is highlighted.
- Active Speaker - displays a large view of the active speaker.
- Thumbnails - displays the active speaker with a strip of up to 8 thumbnail cameras below. The thumbnails show the participants who were the most recent active speakers.
Page
Page
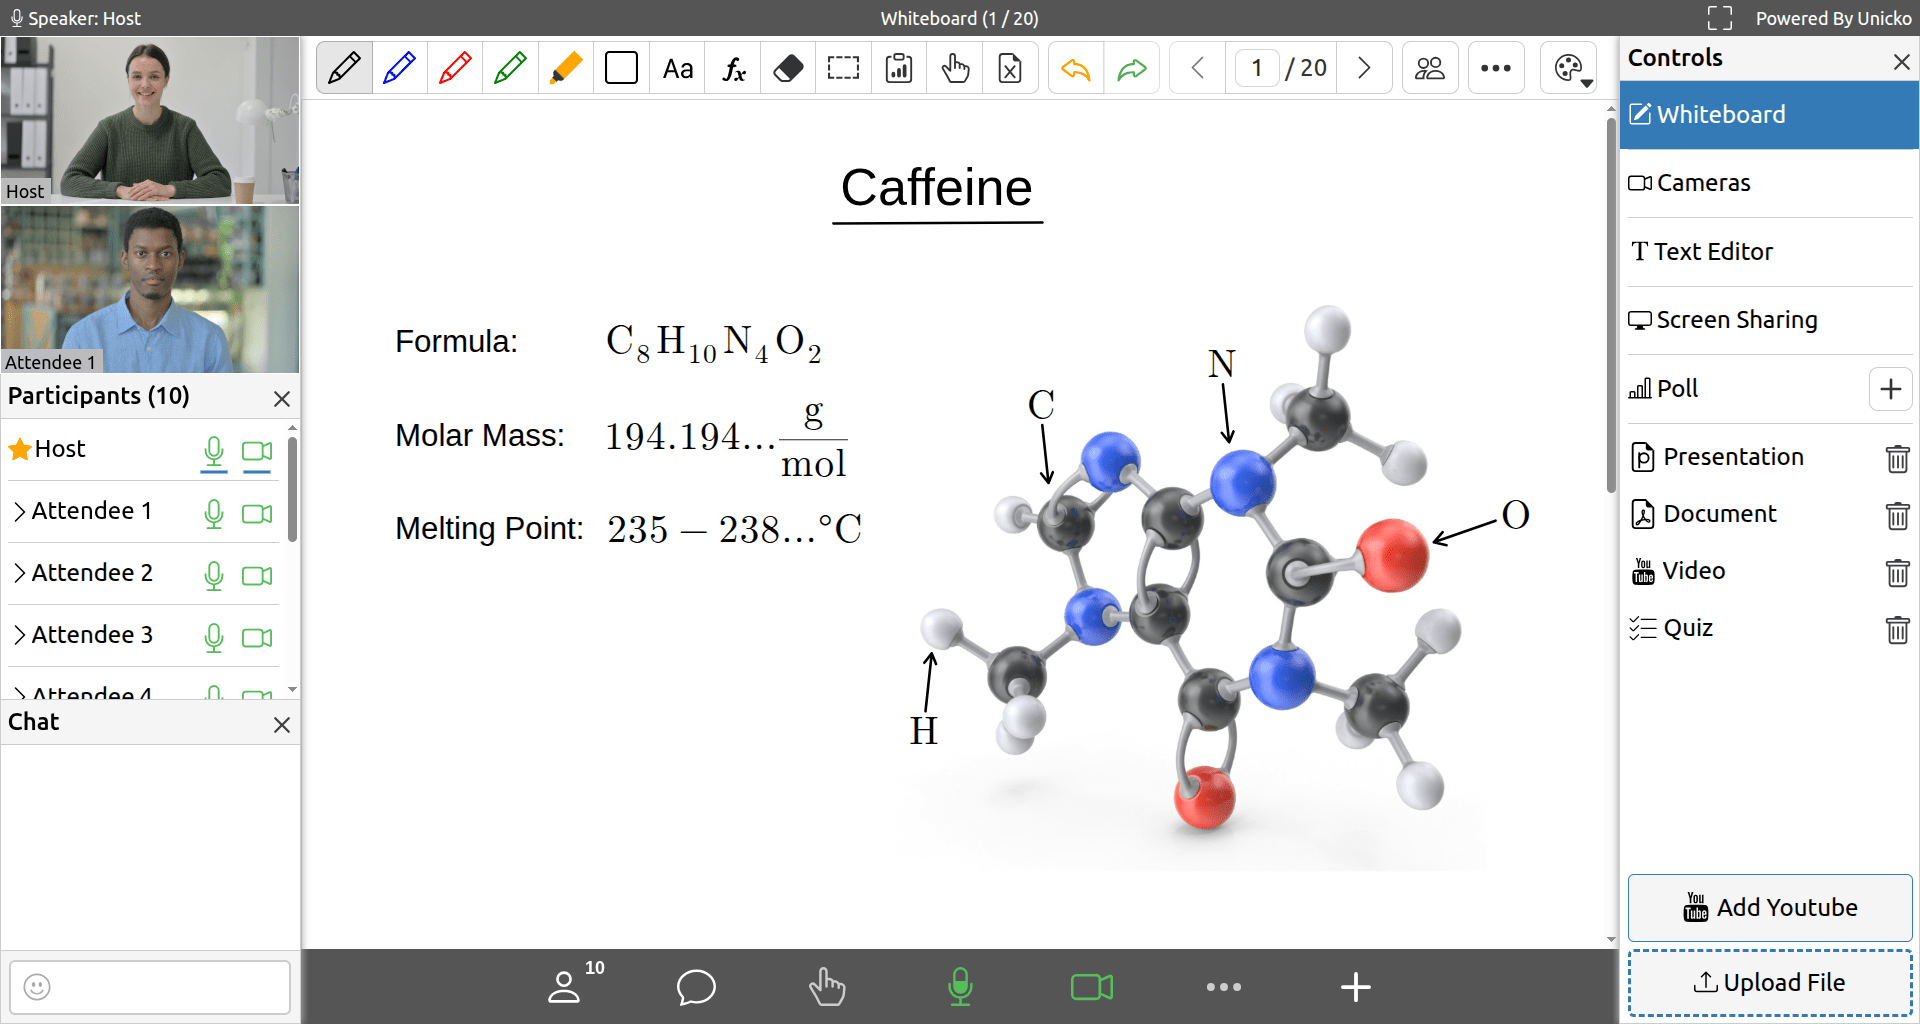
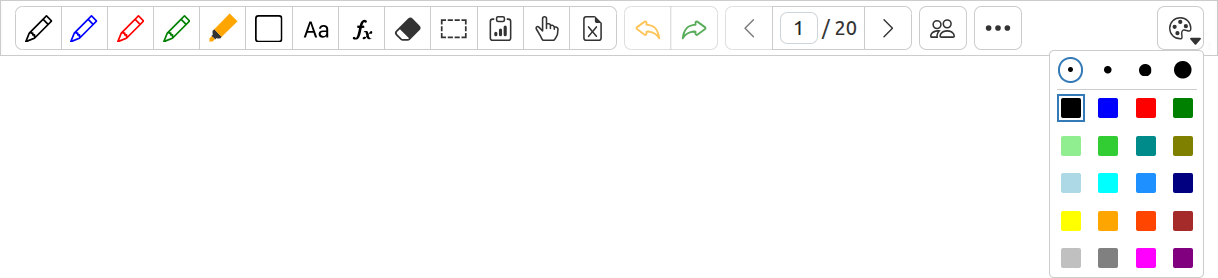
Whiteboard
The whiteboard allows you to write freehand, draw shapes, add text and equations, and copy and paste images. It's optimized for math and science, enabling participants to upload files, copy questions, write equations with a digital pen, and save the whiteboard as a PDF at the end of the session.
The host can allow an attendee to draw on the whiteboard by making them a presenter or by enabling collaborative mode, which lets all attendees draw together. Alternatively, to let attendees work independently, the host can use the Split Whiteboard feature from the More Options menu. Each attendee receives their own whiteboard, and the host can monitor their work.
Redo
Whiteboard
Options
Presentations and Documents
Share Office files, PDF documents, presentations, and images. When you share a file, you control what attendees see, and scrolling or changing pages updates their view to match yours. Attendees will see a small red dot that follows your mouse movements, simulating a laser pointer.

Tools
Image
Page
Redo
Options
- Pointer Tool - Click anywhere on the page to advance to the next slide or trigger animations in an interactive presentation.
- Annotation Tools - Write freehand, draw shapes, type text, and insert mathematical formulas or equations.
- Copy & Paste - Copy and paste annotations and images to or from the whiteboard.
- Zoom and Fit - Zoom in or out, and choose to fit the content to the page width (useful for documents) or display the full page (ideal for presentations).
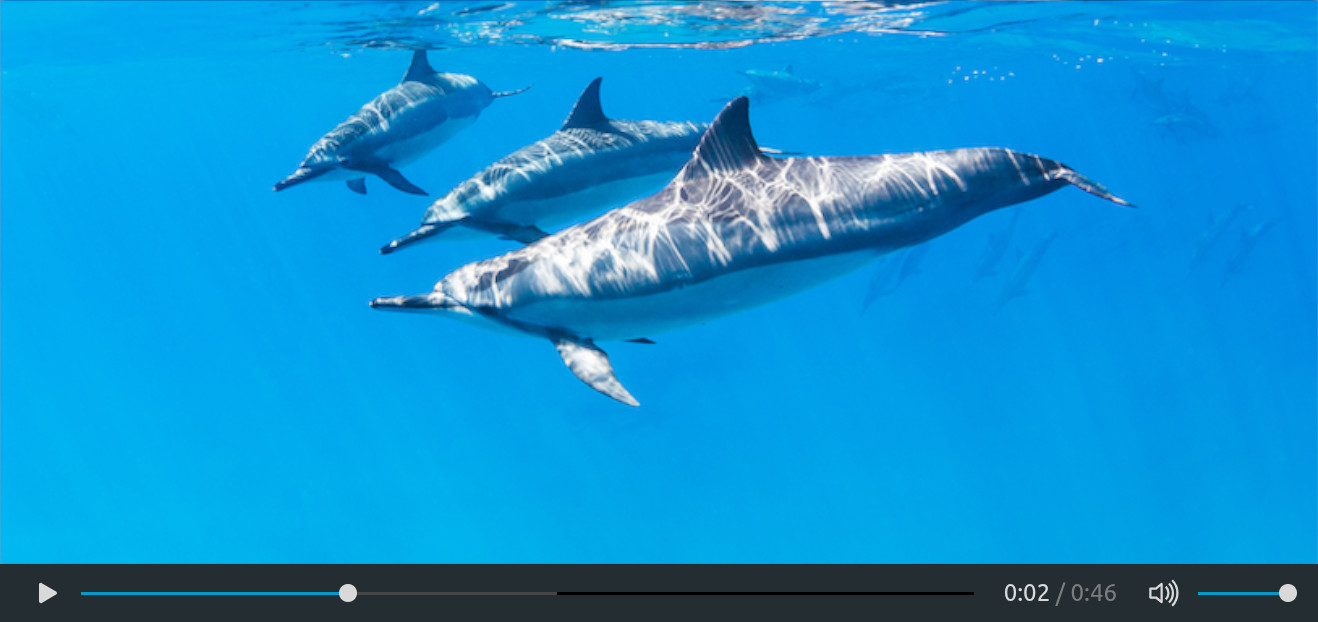
Video Player
Play audio and video files and YouTube videos directly within the classroom.
Text Editor
The Text Editor is useful for various classroom activities, such as language teaching, creating task lists, or summarizing lessons. The host can allow an attendee to type by making them a presenter or enable collaborative mode for group editing.

Color
Color
Superscript
RTL
Text
Link
Formatting
Mode
Screen Sharing

or Browser Tab
Screen Sharing
- Click the Share Your Screen button.
- Choose whether to share your Entire Screen, an Application Window, or a Browser Tab.
- Select the window you would like to share, then click Share.
- Optionally, toggle the Also share tab audio to share audio.
- Click the Multiple Screen Sharing button to allow all participants to share their screens.
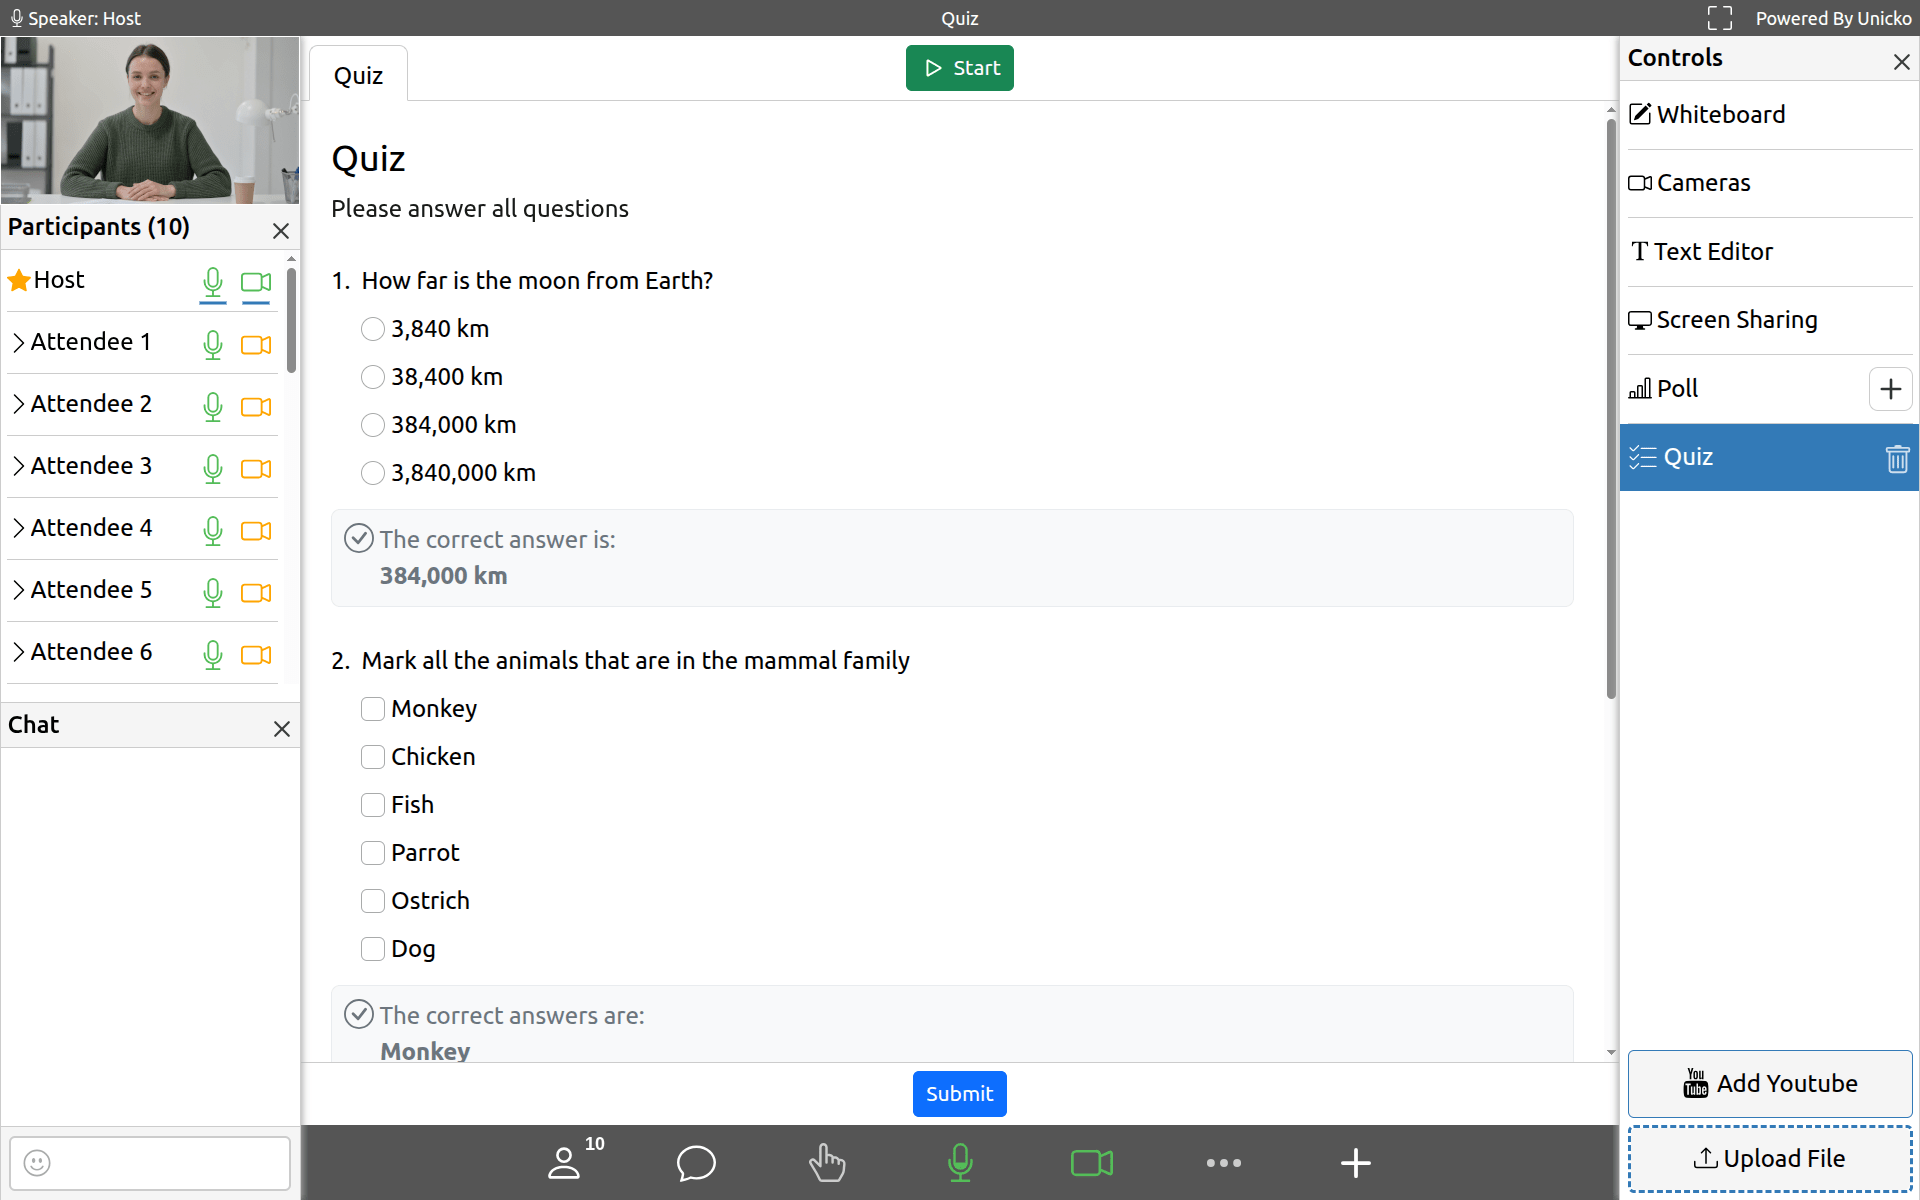
Polls & Quizzes
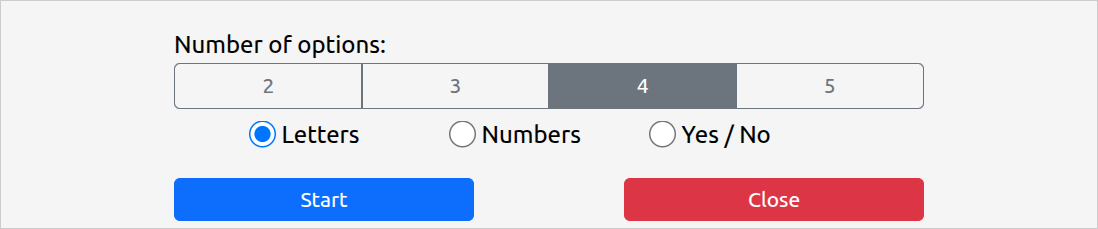
Quick Poll
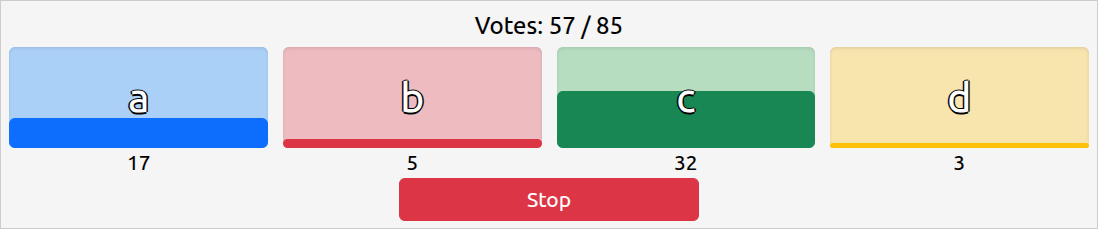
Create multiple-choice questions for attendees with answer options in three formats: letters, numbers, or Yes/No. The poll appears below the content area, letting the host ask questions verbally or connect them to a question in a slide.
The host can view overall results, share them with all participants, and review individual responses in the participant list.
Advanced Polls & Quizzes
Hosts can create polls and quizzes with up to 25 questions using the online editor. For quizzes, correct answers and point values can be assigned to each question.
During a lesson you can solve the poll/quiz in collaboration with your students, or let them solve it independently and track their progress. Polling reports contain full details of the results including participant answers and scores.